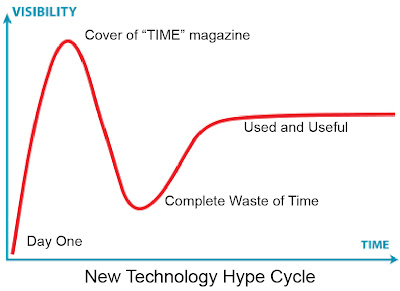
Our business has brought several new technologies into the mainstream with significant benefit to our customers. They're evaluated here in no particular order:
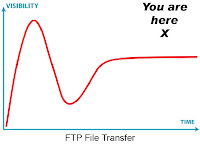
FTP File Transfer: File Transfer Protocol, or FTP, is a fully mature method of communicating production files to a print shop. Depending on their client profile printers use a dedicated FTP server, providing secure access to a client area, or a browser based system. Either way, files too large to email efficiently can be sent to or from the shop. For people like me, who used to have to drive everywhere to pick up disks, this technology is invaluable, and customers benefit from the ability to get their job inside the shop in minutes. If your printer doesn't offer FTP, clients can do it themselves by using services such as box.net or yousendit. My yousendit dropbox, for example, is here and requires no special software, login, or password.
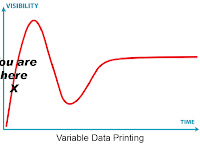
Variable Data: "Mail Merge" on steroids, this technology has run out in front of user demand, and is often present in a local printing market just waiting for people to catch on. Digital printing technology makes the inclusion of customized data in a printed piece relatively easy, and usually ties that component into a larger campaign. Offer numbers, customer numbers, product keys, customer names, postal addressing, and various security features are all capable of being incorporated; all that is required is imaginative thinking and collaboration with your provider.
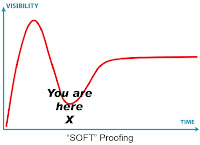
Soft Proofing: a/k/a onscreen proofing is a great way speed up and economize the approval process assuming the following: 1) You are a fastidious proofreader before submitting your file to the printer and 2)have trained everyone in your office to be the same. 3) You are a technical super-pro with a longstanding track record, and 4) a compulsive gambler. All the rest of us mortals should stick to hardcopy proofing. I personally do not know anyone who can proofread onscreen to a level which can guarantee a project will be error free. I know this to be true because I see our customers spend thousands of dollars correcting simple editing errors which are only caught in hardcopy form at our proof stage.
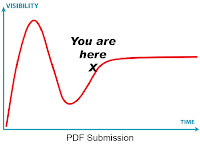
PDF submission: Most commercial shops use PDF based workflow systems because of their compact and reliable nature. Since the individual pages which make up your layout are going to be converted to PDF anyway customers can (and sometimes must) perform that step themselves and simplify file submission. There are a few common problems, however, which will fill you with a sense of rejection; most important, the file must be created with all fonts embedded.
The defining feature of a PDF file is its ability to render properly no mater which computer it’s on. Key to this ability is the file’s willingness to carry within itself a copy of all the fonts which were used by the original program (Word, InDesign, etc). Unfortunately, this feature can be defeated by the home computers desire to keep the file size small, and thus omit the internal font copies. It is imperative that the settings used to create the PDF instruct that the fonts be “embedded” or else the file will, without warning, substitute whatever fonts may be available in its new neighborhood. This can cause problems ranging in size from troubling to disastrous.
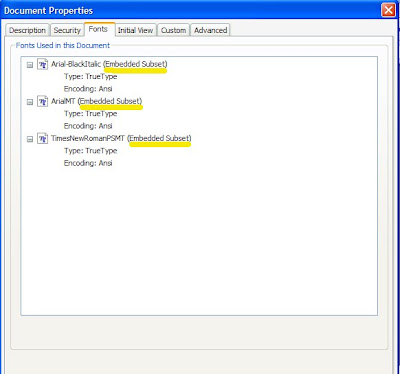
The solution is simple and easy to check. First, use the “Press Quality” settings from the menu at the PDF creation step. (For Microsoft products also be sure the “never embed” window is empty.) Second, after the file is created, go to File>Properties>Fonts to be sure ALL fonts listed are followed by the term “embedded subset” as in the following picture.
Second most important, the file must allow for extra image outside the trim size of the file if the printed image “bleeds” off the edge. My dog, Lassie, will now demonstrate, although you should click on the picture to see it full size:

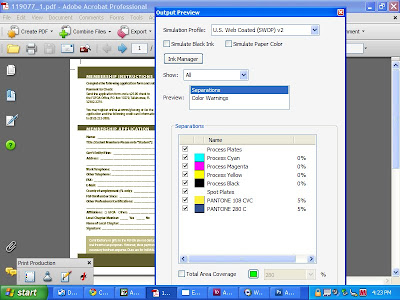
Third most important, check to see that you ended up with the colors you intended for printing. The step in Acrobat is Advanced>Print Production>Output Preview and you'll see something like the following, and there is NO END of interesting details you can learn about your file:
I'm happy to return to this page after a two month hiatus during which the actual printing business was quite hectic. Many wishes came true at our shop, with the result being my neglect of you loyal readers. I hope the first quarter of 2010 was encouraging for you as well, and look forward to your feedback online.
Sincerely,
Hugh Butler
Your Friend in the Printing Business

2 comments:
Welcome back, Hugh, and thanks for the great tips, esp. re: .pdf trim marks and reminder to embed fonts. In InDesign CS4 I rely on the File/Package feature to keep me straight, but sometimes overlook doublechecking the transition to .pdf.
Wow! This is an awesome improvement in this area.
OEM
Post a Comment